Page 7 of 8 ... September 2012 - present
Fall 2012 - Spring 2013 -- Miscellaneous Projects
With the low engine vacuum / cam timing issues taken care of, we turned our attention to some smaller miscellaneous projects such as re-adjusting one of the rear quarter windows that was rolling up at a bit of an angle that didn't quite match up with the door glass. That involved removing the rear seat which in turn uncovered another problem. Sometime over the years since the interior was redone, a mouse had gotten into the car and chewed up some of the cotton batting in the rear seat and chewed one of the little wires off the rear seat speaker (right up next to the cone). We took the rear seat back to Bartman's Upholstery and they were able to repair it without much trouble. A set of new speakers from SM Electro-Tech replaced the rear one with the chewed wire and the front one that was just plain old and dried out. The original Delco AM pushbutton radio is hooked up to an aftermarket FM converter and it sounds great with these new speakers.
While the rear seat was out, we decided to replace the package tray as well. It was a reproduction that was installed new back in 1999 but had warped/bowed a bit over the years. Rather than replace it with another cardboard reproduction that would likely do the same thing, I made one by covering a piece of galvanized sheetmetal with a layer of thin foam topped with some vinyl that matches the seats. We also added some additional insulation to the floor under the seat and seat/trunk divider panel before the rear seat went back in.
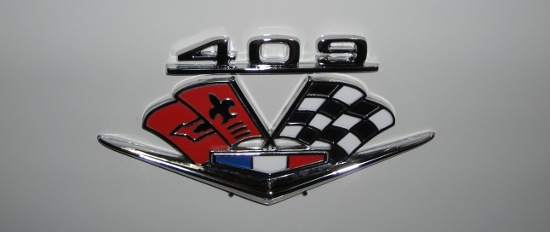
Another small project involved the installation of some new "409" emblems to the front fenders. Like all the other emblems on the car, we used ones made by Trim Parts. I used the measurements in the factory assembly manual to create a template for locating the holes that needed to be drilled in the fenders. To prevent rust, I used a small brush to apply a little primer and touch-up paint to the edges of the holes.
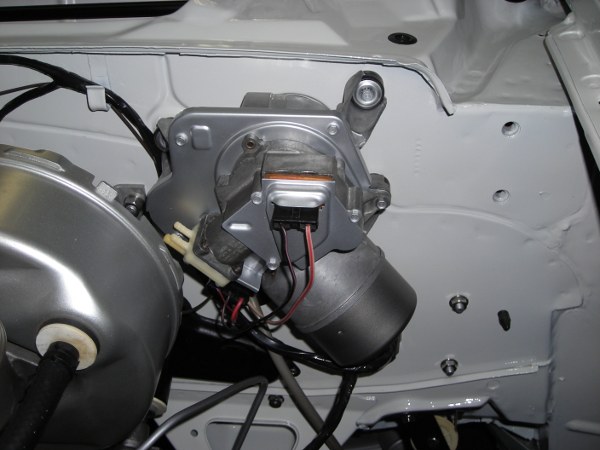
The original wiper motor got cleaned/freshened up a bit and bolted back into place along with the wiper transmission linkage.
Summer 2013 -- Polished Rear Cove Molding
Sometimes old parts are better than new ones. That turned out to be the case with the rear quarter panel cove moldings. During the earlier restoration work back in 1999, we installed a pair of reproduction cove moldings. However, we were never really satisfied with the fit and finish of the reproduction parts. They didn't fit tight up against the body at the outer corners and the thin aluminum they were made of had bowed and twisted a little as the attachment nuts were tightened.
So this summer, I dug the original pieces out of storage and used some Easy Off Heavy Duty Oven Cleaner to remove the old milky looking anodized finish. Next, I used some small punches and other pieces of metal to carefully tap out the small dents and dings. That was followed up by sanding with some fine grit paper and finally some Mother's Mag & Aluminum Polish to restore the shine.
The upper trunk molding piece (with "Chevrolet" lettering) was not available as a reproduction back when the earlier restoration work was done. Even though they are available now, we decided to restore an original one to match the cove moldings using the same procedure. These original moldings fit a lot better than those reproduction cove moldings and are made of considerably thicker aluminum that doesn't bend or dent anywhere near as easily. Now that the protective anodized finish is gone, these moldings will require an occasional polishing to keep them shiny.
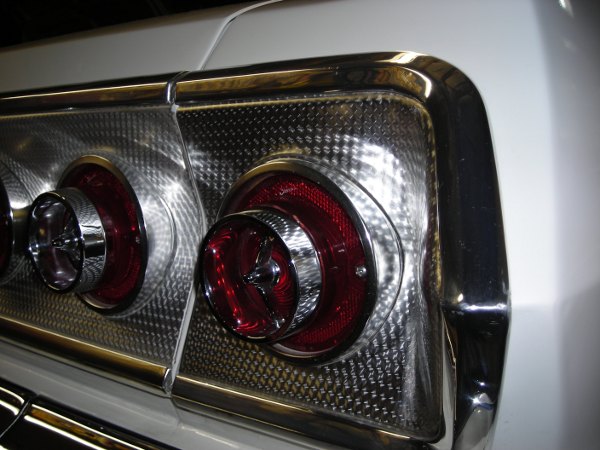
The inner cove moldings (with the SS specific engine turned "swirl" finish) and the tail light housings are original to the car. Fortunately, they were still in very good condition. The tail light lenses & their chrome trim rings are very nice reproductions from Trim Parts that were installed during the earlier restoration work in 1999.
Fall/Winter 2013 - 2014 -- Inner Fender Repair
The 63's original driver side inner fender was still in excellent condition and only needed to be freshened up with a new coat of paint. The passenger side inner fender was okay for the most part too but did have a bit of old rust damage in the area below the battery tray that had never been repaired properly. Rather than replace it with a reproduction, I decided to repair the rusty area by welding in new metal. Unfortunately, I couldn't find a patch panel available for this anywhere and the section has a lot of complex curves and ribs that would be difficult to duplicate with a home-made patch. Luckily, I was able to find another inner fender that was still fairly solid along the front edge but had damage elsewhere. I cut a patch panel from that donor inner fender and made a home-made patch for the section where that one also had rust damage.
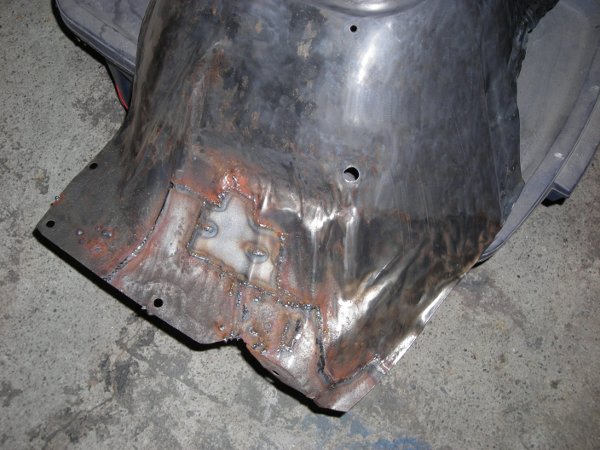
This is the result after welding everything back together. The next step was to grind the welds down smooth and give the area one more clean-up with the sand blaster to make sure all traces of rust were gone. After that I gave the repaired area a couple coats of epoxy primer and a thin coat of Evercoat 2-part Polyester Glazing Putty to fill in all of the little pits and roughness left behind from sandblasting away the rust.
June 2014 -- Painted the Inner Fenders & Wheel Cover Anti-Rattle Fix
I painted the inner fenders with a couple coats of Summit Racing Semi-Gloss Black Chassis Shield Epoxy Paint. This is the same paint that I used earlier to spray the radiator support and grille brackets.
A couple of the wheel covers had plastic center emblems / inserts that were loose and rattling. This seems to be a somewhat common issue with the 1963 Impala SS and '63 - '65 Nova SS wheel covers. I have seen several different ways that people have tried to prevent these from rattling, such as duck tape, silicone, and various other "goop" filling the small gap between the back part of the center insert and the rest of the wheel cover. However, one of the better (in my opinion) fixes I came across was where someone had cut a round piece of rubber (from an old inner tube) and placed it over the back of the center insert. I like this method since it is easy to disassemble (if needed) and doesn't leave any sticky or gooey residue on any of the parts.
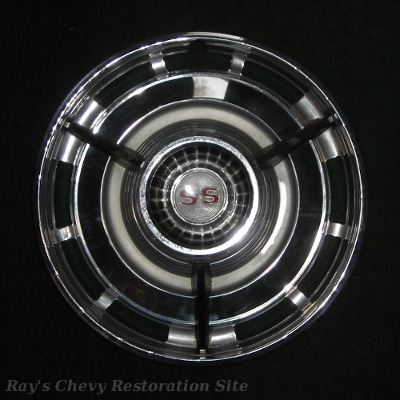
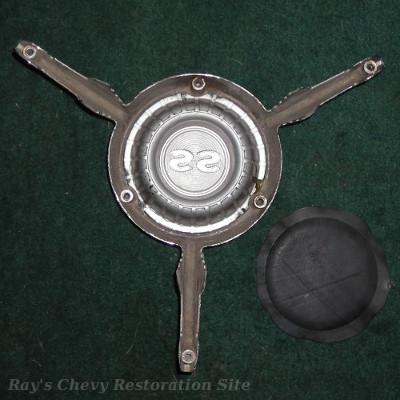
This simple fix requires cutting pieces of old inner tube rubber into circles approximately 4-½" in diameter (cut one for each wheelcover). Note: The one pictured above had been installed for a while before I took it apart again to take the pictures. So it has taken on a slightly cupped shape w/curled outer edges.
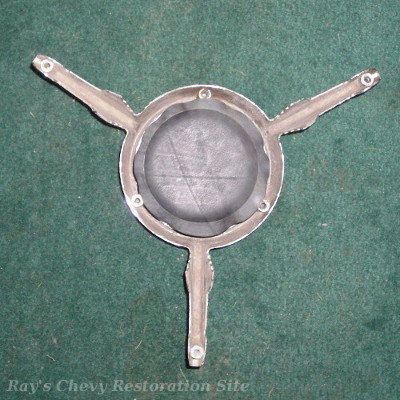
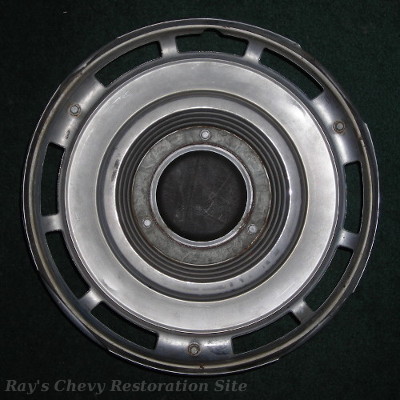
To install them, place the wheelcover face down on a soft surface and remove the six screws that attach the tri-bar chrome diecast section to the back plate portion of the wheelcover. Lift off the back plate and reinforcement ring and place the piece of rubber over the back of the plastic SS center insert. Then, re-install the back plate & reinforcement ring. If any of the screws are damaged or missing, they're common #10-24 x ½" machine screws, although hardware store replacements likely won't have the original style 5⁄16" hex heads.
November 2014 -- More Assembly Work
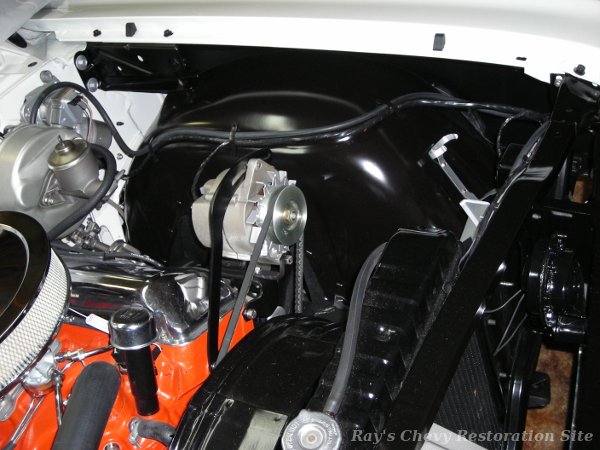
After spending the summer working on some other projects, we finally started working on the 63 again. The first job was to attach the rubber splash shields to the inner fenders. Section 11-13, Sheet 4.00 of the factory assembly instruction manual shows the splash shields are to be installed on the tire side of the inner fender skirts. And it contains a note that reads, "Position head of staple against skirt & clinch to shield." To duplicate the factory staples, I used some 1-¼ x 17 stainless wire brads (Hillman item #532672) that I trimmed to length and bent into a staple shape with pliers. These were a great fit in the factory staple holes and won't rust like the originals.
With the splash shields stapled into place, the next step was to bolt the inner fenders back into place, being extra careful not to scratch the new paint. Then we secured the wiring harness and battery cable to the inner fenders using reproductions of the factory style plastic straps. I found that warming up the plastic straps a little with a hair drier made them much easier to snap into the holes as well as stretch slightly to fit over the wiring harness.
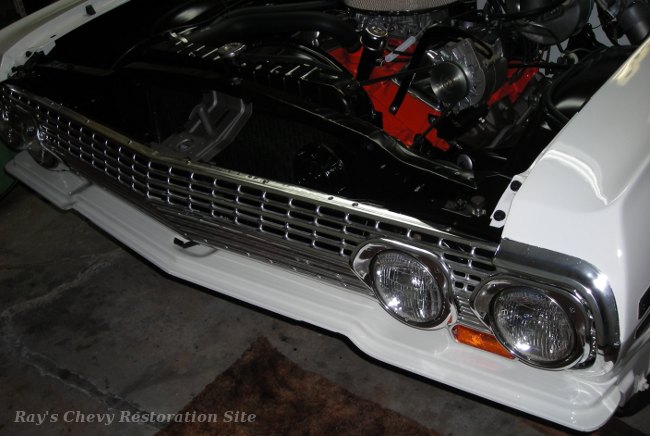
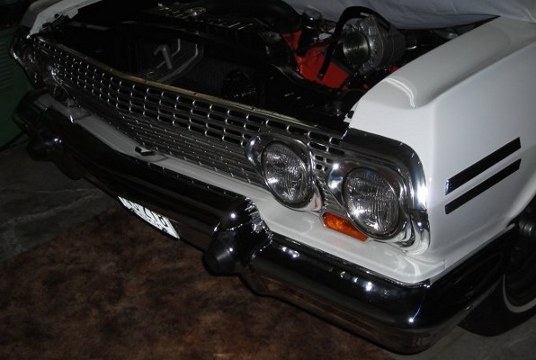
Next on the list of items to re-assemble was the grille. A couple years ago, I had sandblasted and painted all of the grille brackets, headlight mounts, and other associated pieces. The original style grille rivets are not very easy to install and generic pop rivets do not look correct. So we used some special unslotted truss head machine screws from Altha Fastener. These have the appearance of the original type rivets but install easily with a nut on the underside.
December 2014 -- Grille to Bumper Filler Panel
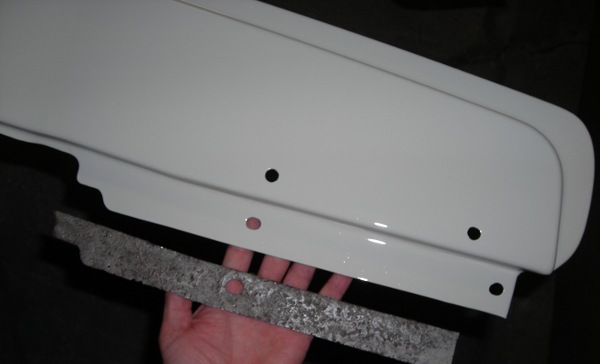
Like the passenger side inner fender, the grille to bumper filler panel also had some old rust damage that had never been repaired properly. Specifically on the flange where it bolts up to the front of the inner fender. So while it was already off the car, I took the opportunity to strip the filler panel back down to bare metal, cut out the damaged area, and weld in some new metal. This photo shows the old rusty piece being held beside the repaired section.
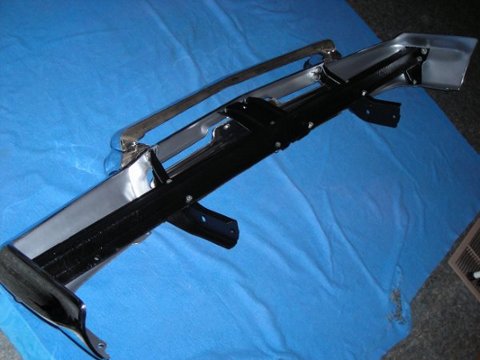
March 2015 -- Front Bumper
After taking some time to clean up and re-paint the inside of the bumper and the bumper brackets, we put it back together and bolted it back onto the car.
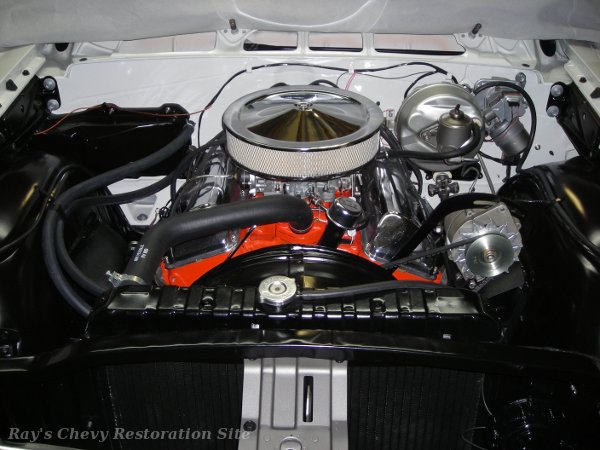
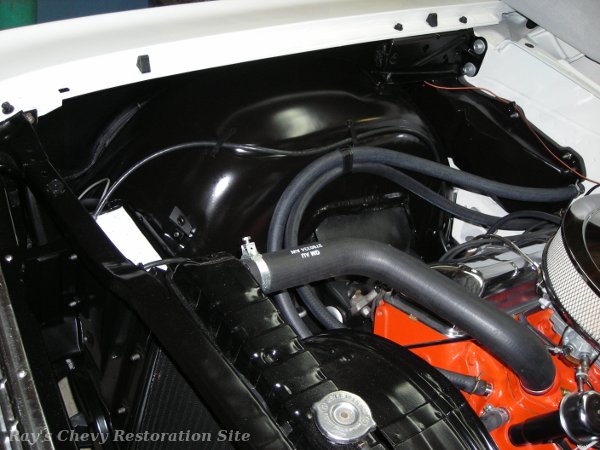
A photo of the nearly finished engine compartment. We just have a few minor things to finish up at this point such as re-installing the cowl panel & hood along with finding an original type air cleaner assembly.
- Continue on to Page 8 (October 2015 - present ... A Few More Updates)
- Return to Dad's 63 Impala Page
- Return to Ray's Chevy Restoration Site Home Page
- © 1998 - 2026 Raymond McAvoy. All Rights Reserved.